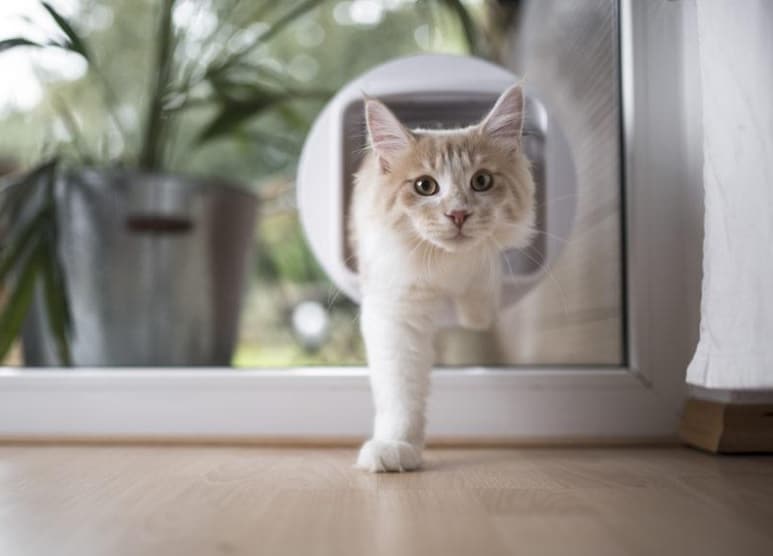
Keeping intruders out at any cost is our aim, but when it comes to our pets we prefer them to be able to come and go as they please – meaning they can enjoy the garden, patio and backyard, and we don’t have to get the door for them every time they decide to venture outdoors.
That’s why installing a pet door on your security screen door is a must for any household with a cat or dog. Installing it on a security screen door is also the safest way of giving your pet access to the home while keeping intruders out.
If you don’t want your pet using it and you don’t want anyone else to think they might, you can simply lock the main door and rest easy knowing your home is safe and secure.
By following our simple 5-step guide you will soon have a secure, and pet-friendly home, whether you have an aluminium grille or stainless steel mesh door.
Before you start
For the purpose of this guide, we are going to assume you have already purchased the pet door, but if you haven’t, remember to measure your pet before you do and get one that they can definitely fit through!
You will need the following tools:
- Phillips screwdriver
- Marker pen
- Tape measure
- Needle-nose pliers
- Bolt cutters, hacksaw or an angle grinder with thin stainless steel cutting disks
- Stanley knife or blade
- One-sided sticky back foam insert (For stainless steel mesh security door)
And remember always wear goggles, gloves and any other relevant safety equipment.
Do I need to take the security screen door off its tracks?
No! Most pet doors are designed to be installed on an already fitted security door.
If you are unsure, check the instructions of your chosen pet door product.
Step 1 – Measure the door
With the dimensions of the pet door in mind, use a tape measure and marker pen to mark out the required area on the door.
For an aluminium grille door, remove the spline cord from the screen door and roll up any insect screening so that you have access to the grilles. Now measure and mark the area to be cut out.
Step 2 – Custom Cut out the door
If you have a stainless steel mesh security door, use an angle grinder with stainless steel cutting and cut along the marked lines.
For a grille door, remove any rivets from the cutout area with a drill, and use bolt cutters to cut away the grille.
Step 3 – Prepare the cutout
When installing on a mesh security screen door, a one-sided sticky back foam insert will be required these are used to take up the space between the mesh and the pet door frame and are available from your local hardware store.
Apply the foam insert to the back of both of the frames. Make sure the insert goes around the frame on all four sides. Cutting small triangles in the corners of the foam will help you give it the same shape as the frame.
With a grille door, you will need to fit glazing vinyl around the edges of the cutout section.
Step 4 – Fit the pet door
Place the frame on either side of the security screen door and screw in the bottom two screws.
Insert the pet flap into the frame, making sure the magnets align.
Screw the remaining four screws into the pet frame.
If you have a stainless steel mesh door you are finished. You can now introduce your pet to their new door!
Step 5 – Finish up with an aluminium grille door
Take the insect protection screen and the spline cord back in its original position.
Using your blade, cut away the insect screening around the flap and remove the excess.
Cut small lines, 1cm in length, in the corners and curves of the insect screening that cover the channel for the pet frame’s spline cord.
Push the insect screening into the channels and refit the spline cord to the pet door frame.
That’s it – you’re all done and you now have one neat and tidy pet-friendly entrance for your home!
Don’t have a security door?
Action Glass & Aluminium manufactures a wide variety of security doors including sliding, hinged, stackers and more to suit homes of all styles.
We can work with you to make these tailor-made for your pets!


